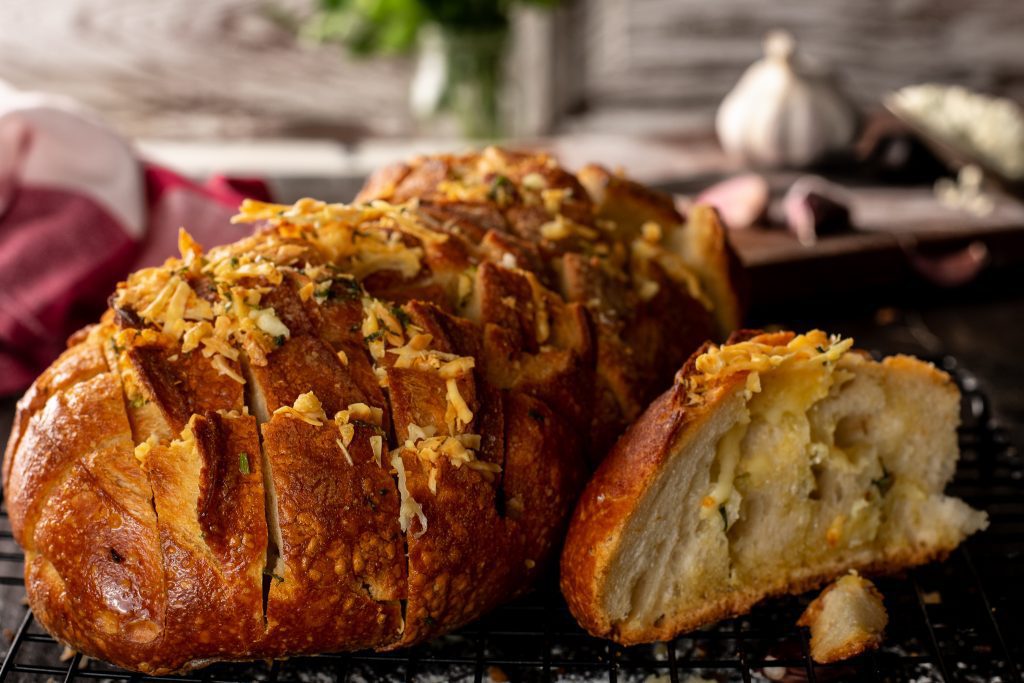
Pull Apart Bread Garlic
Has nature got all the answers already but we can’t see the wood from the tree? Let’s make some pull apart garlic bread and see!
As I recently have some time, I had been surfing on the web the other day. In need of fresh, stirring thoughts, inspiring recipes that I have never tested before, to amaze my loved ones with. Looking for quite some time yet couldn’t come across lots of interesting stuff. Just before I thought to give up on it, I discovered this fabulous and easy dessert by chance. It seemed so tempting
on its snapshot, that required urgent actions.
It was easy to imagine how it’s created, how it tastes and how much my hubby will probably enjoy it. Actually, it is very simple to please him in terms of puddings. Anyways, I got into the webpage: Suncakemom and then followed the detailed instuctions that had been accompanied by wonderful snap shots of the operation. It really makes life much easier. I can suppose it is a slight inconvenience to shoot photos in the midst of cooking in the kitchen because you typically have sticky hands thus i genuinely appreciate the hard work she placed in to build this post and recipe easily implemented.
Having said that I am encouraged presenting my own, personal recipe in the same way. Many thanks for the concept.
I had been tweaking the original recipe create it for the taste of my loved ones. I must mention it turned out an awesome outcome. They enjoyed the flavour, the consistency and enjoyed having a delicacy like this in the midst of a hectic workweek. They basically wanted even more, a lot more. So the next occasion I am not going to commit the same miscalculation. I’m likely to double the quantity .
This post is based on Pull Apart Bread Garlic from SunCakeMom
Beginner
Add the softened butter, finely chopped or crushed garlic, optional parsley and salt if unsalted butter is used into a bowl and with an electric whisk beat until the butter gets soft and creamy.
Cut the bread into ½” / 1.25cm wide slices but mind not to cut through the bottom crust, otherwise it won’t be much pulling afterwards.
Fill the slices with the creamed garlic butter.
Stuff in optional cheese.
Slice the bread the other way around too so it will make squares or diamonds. If there is some extra cheese left out, just stuff it in anywhere.
Put the bread into a 400°F / 200°C preheated oven for 10 – 15 minutes.

Recent Posts
- Broccoli Fritters
- Chocolate Ganache
- Rutabaga Fries
- Keto Raspberry Jello Eggs
- Puff Pastry Recipe Dessert
- Baked Brie
- Kielbasa Sausage Recipes
- Recipe For Strawberry Tart
- Noodle Soup
- Strawberry Lemonade Pound Cake
- Puff Pastry Recipe Dessert
- Fried Cabbage Bacon And Onion
- Buttercream Frosting Chocolate
- Roasted Carrots And Potatoes
- Sausage Rolls
- Fish Chowder Soup